Best Solutions to Fix ‘Disk Utility Failed to Repair This Disk’ Error on Mac
Tips & Tricks • August 5, 2020
Summary: Getting the ‘Disk Utility Failed to Repair This Disk‘ error on your Mac? It’s a tricky problem, and here are some basic solutions that can fix it for good!

Table of Contents
Backup Files with Time Machine on Mac
Suppose that any issue on Mac, which involves the format of the drive, we strongly recommend backing up the files on the hard drive to prevent data loss, and it will ensure that all your data are protected. Now, you can use the third-party program to back up the files, but you need to access the built-in backup tool called Time Machine.
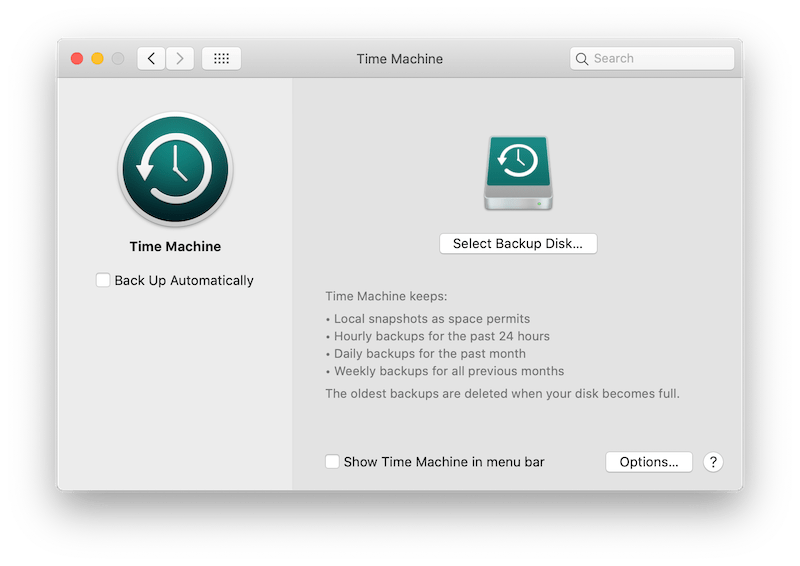
It is easy to back up files with Time Machine with the steps below:
Step 1: Connect the External Drive to the Mac.
Step 2: A window will appear on the screen and click on Use as Backup Disk. We recommend checking the box beside Encrypt Backup Disk.
Step 3: Click Select Backup Disk. Then, select the external storage device and click on Use Disk.
Time Machine will immediately start backing up the drive, and the process will take a few minutes. So, please wait for it to get finished and do not disconnect the external storage drive.
The Best Solutions to Fix “Disk Utility Failed to Repair Disk” Error
Now that you have backed-up all your important files using the Time Machine, you are ready to fix ‘Disk Utility Failed to Repair Disk’ error. Check out the best practical ways below to fix the error!
Solution 1: Single User Mode
FSCK is a built-in repair and diagnostic tool. It will verify the error and then fix it.
Step 1: Restart the Mac.
Step 2: Press Command + S during the startup and enter Single User Mode.
Step 3: In the text terminal, type: /sbin/fsck –fy
The disk is read-only in single-user mode. It is the default status. So you have to change it by typing in the command: /sbin/mount-uw/
Step 4: After the work is done, type reboot to exit single-user mode.
FSCK should be able to fix this issue. But if it didn’t help, check the next solution.
Solution 2: Reformat the Drive
If you are still getting ‘Disk Utility Failed to Repair This Disk’ error, then the solution above hasn’t been beneficial. So, we recommend reformating of that specific drive:
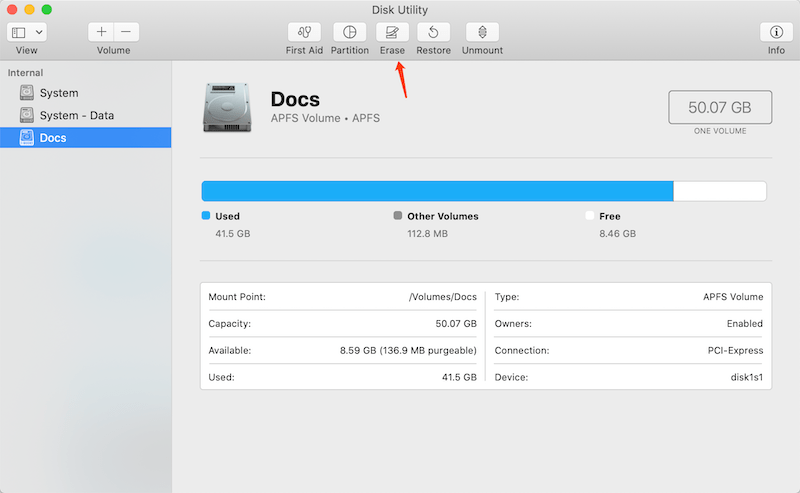
Step 1: Go to Utilities from Applications. Run Disk Utility.
Step 2: Select the drive and click Erase. Remember that doing this will remove all the files in that drive.
Step 3: Enter a name and select a file system. Lastly, click on the Erase button.
After formatting the drive in this way, the error message should disappear.
Recover Data from a Formatted Drive Mac
Part 1: Restore Files Using the Time Machine after Formatting Drive
Now that you have fixed the ‘Disk Utility Failed to Repair This Disk’ error with your drive, it is time to restore the backed up files.
Step 1: Enter the Time machine.
Step 2: Open the folder that you need.
Step 3: Select the files and click on the Restore button.
The files will be restored immediately.
Part 2: Mac Data Recovery Tool
It is possible that due to ‘Disk Utility Failed to Repair This Disk’ error, and some or all of your files may get lost in that specified partition. We are not saying that it will happen, but if it happens, you will need a powerful data recovery software for Mac to restore those files immediately.
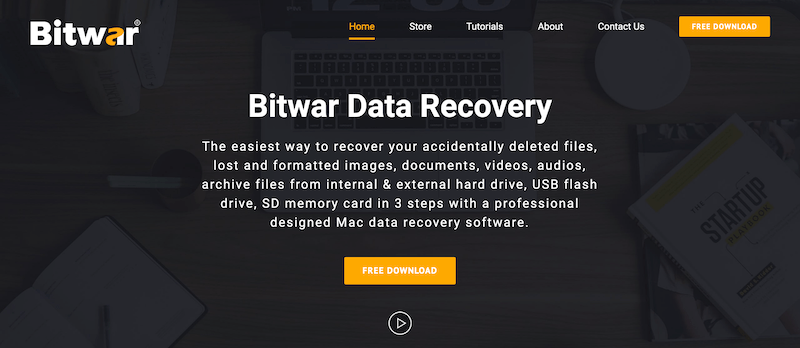
There are specific robust programs available for Mac, but we recommend using the Mac version of Bitwar Data Recovery Software for Mac. It is safe to use, and it has an exceptional data recovery rate. Besides, Bitwar will be very helpful in data recovery after formatting a drive.
Steps to Retrieve File from the Formatted Drive on Mac:
Step 1. Download and Install the recovery tool from the official website: https://www.365datarecovery.com/.
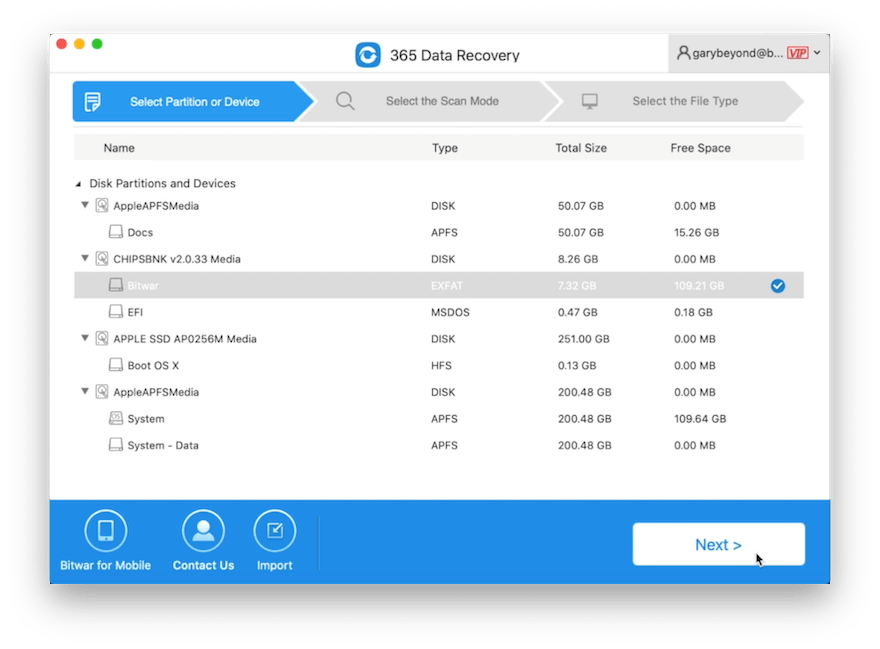
Step 2. Launch the recovery tool and choose the Formatted Drive on Mac and click on the Next to proceed.
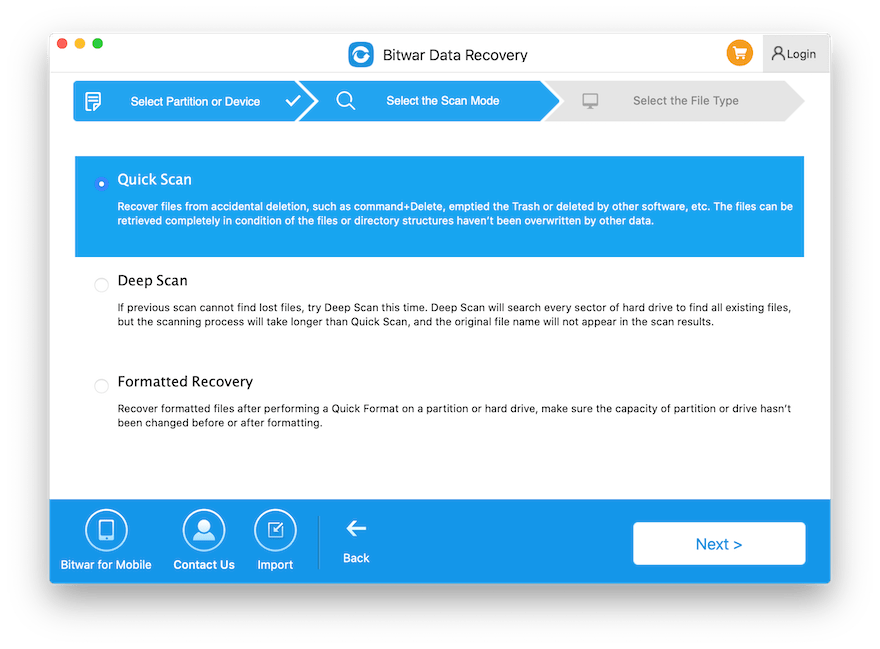
Step 3. Choose the Formatted Recovery option and continue with the Next button.
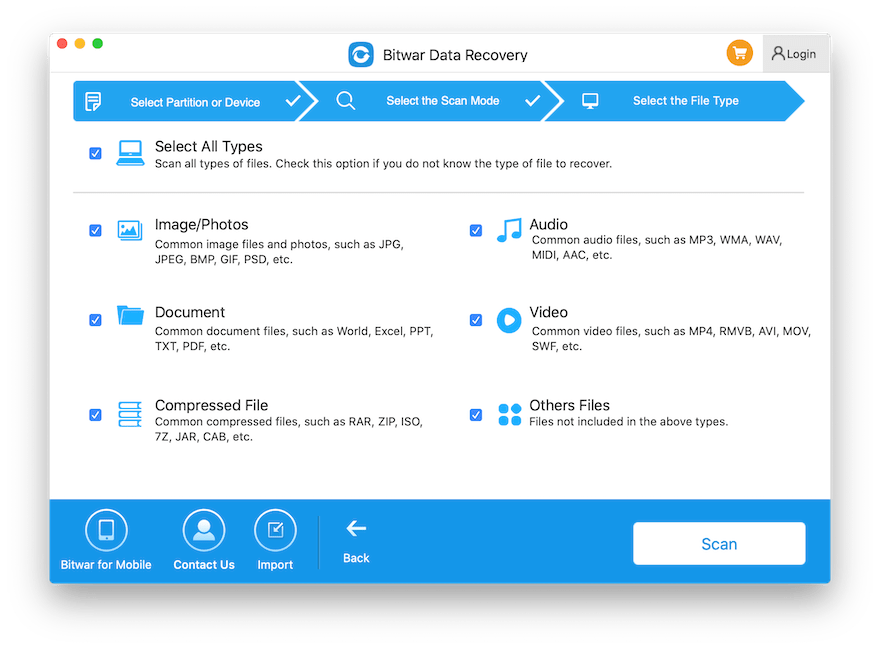
Step 4. Select the file type. If you don’t remember the file type, then it is safe to choose Select All Types and Scan.
Step 5. After the scan is complete, Preview the result and select the desired files. Then, click on Recover to recover the data back.
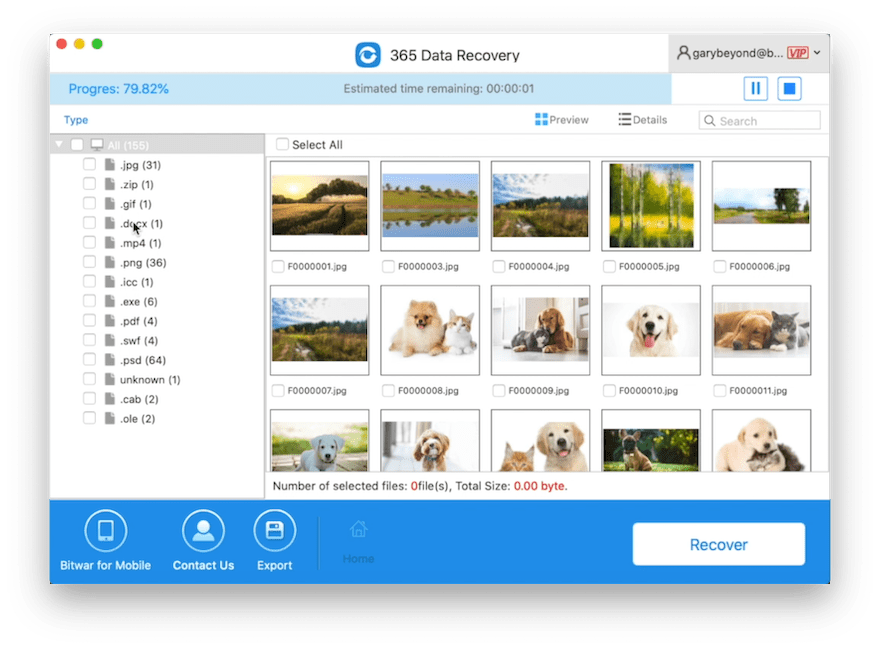
Valuable Advice: When the data is successfully restored, save all the data at a new drive to prevent data overwritten.
![]()
About Bitwar Data Recovery for Mac
3 Steps to get back 300+ kinds of deleted, formatted or lost documents, photos, videos, audios, archive files from any storage devices.


In a Nutshell
‘Disk Utility Failed to Repair This Disk’ is a critical problem on the Mac system, and it is difficult to fix this error without formatting the damaged partition. So, you need to work very carefully and make sure to back up the files using Time Machines detailed in the article above.
Please use the recommended solutions that we had discussed in the article to fix the error on Mac. Besides, if you want to recover data from a formatted partition, you must use Bitwar Data Recovery for Mac to get a successful recovery.

Michael says: